Ray stitch is one of those simple stitches that creates amazing results. Also known as Fan Stitch, it is made with a series of straight stitches that start on the outer points and end at a single middle point.
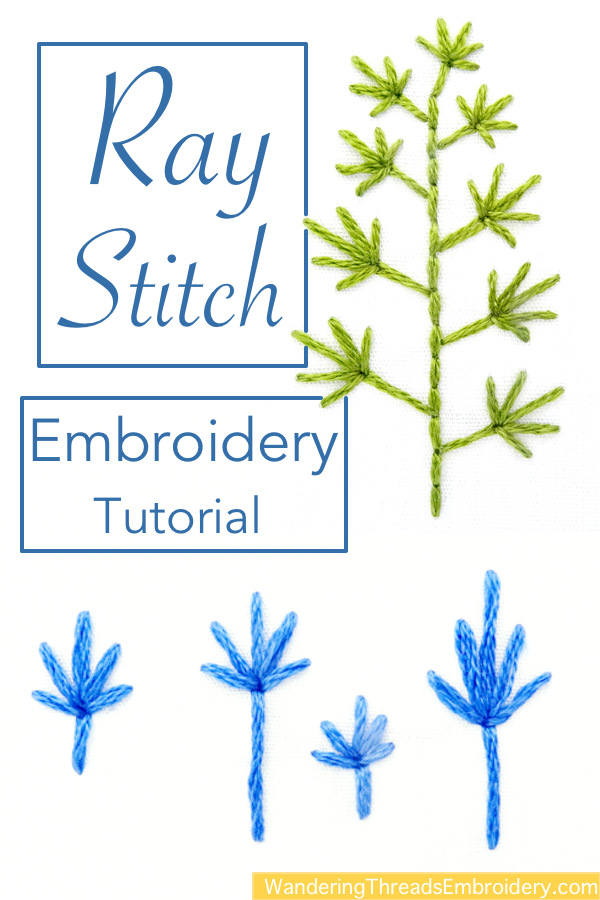
Ray stitch can be stitched free-hand after a bit of practice, or by drawing a simple triangle with a line in the center to use a guide. If you choose to draw a guide, be sure to use a water-soluble pen as the lines will not be covered by the thread.
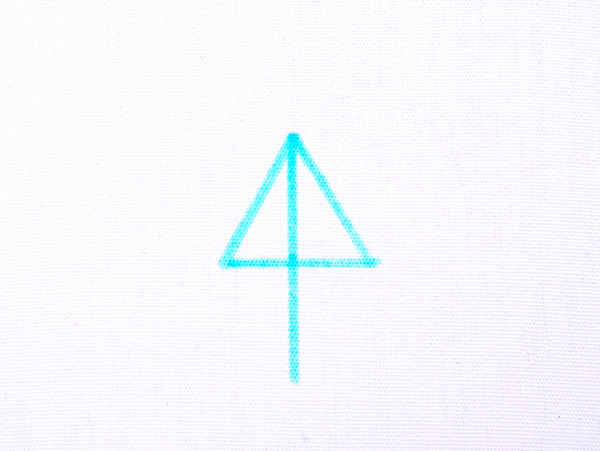
Start the first stitch at the bottom of the line. Come up at point A, move the needle up to point B, and re-insert through the fabric. This is the tail of the ray.
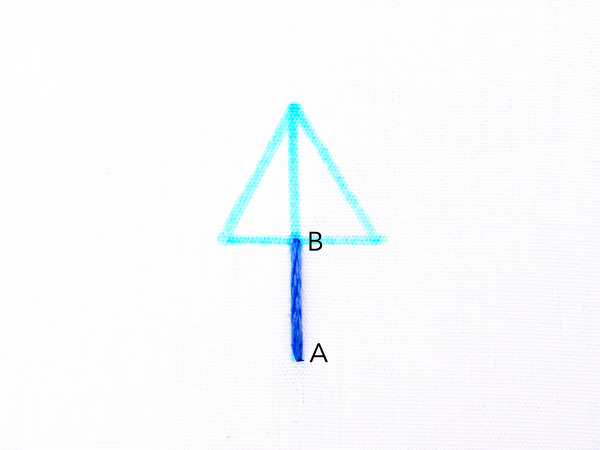
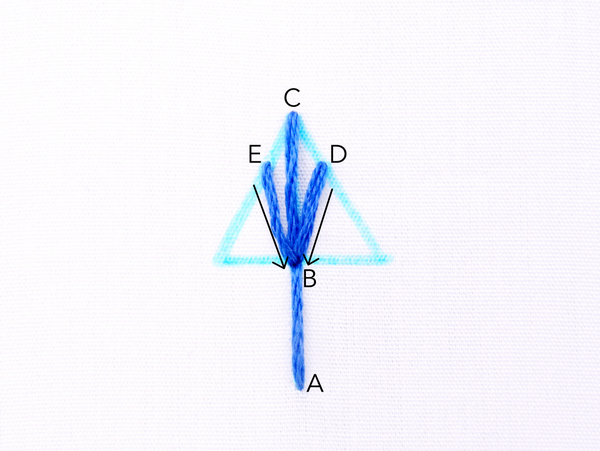
Start the second stitch at the top of the triangle (point c) and bring it down to point B. Re-insert the needle in the same spot where the first stitch ended.
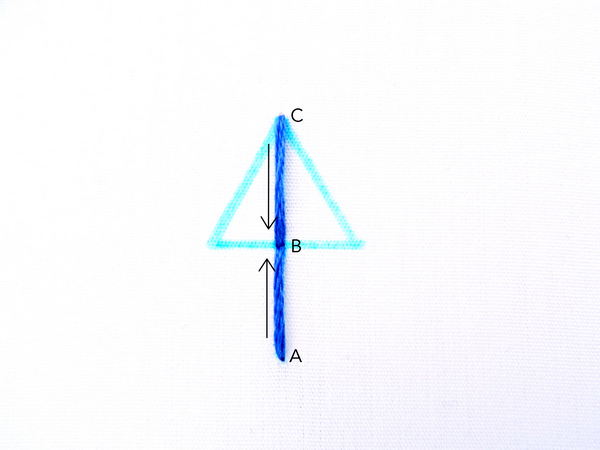
The third and fourth stitches both start below point C and on the line of the triangle. You will notice that point D and E are parrallel to each other. Both stitches end at point B.
The final two stitches follow the same pattern. Point F and G are below the previous two stitches and parallel to each other. Again, these stitches end at point B.
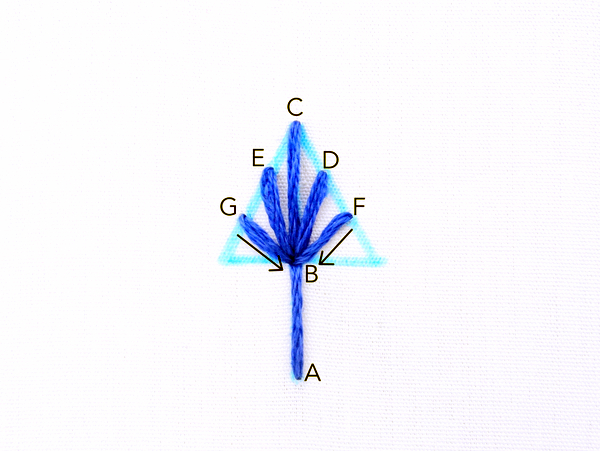
And that’s it! There are many ways to alter ray stitch, but the basic stitch contains five points that start on the outer edge and end at a common point in the middle. Some simple ways to vary the stitch are by shortening or lengthening the tail at the bottom, making the tail the same length as the tallest ray, or spacing the rays wider apart.
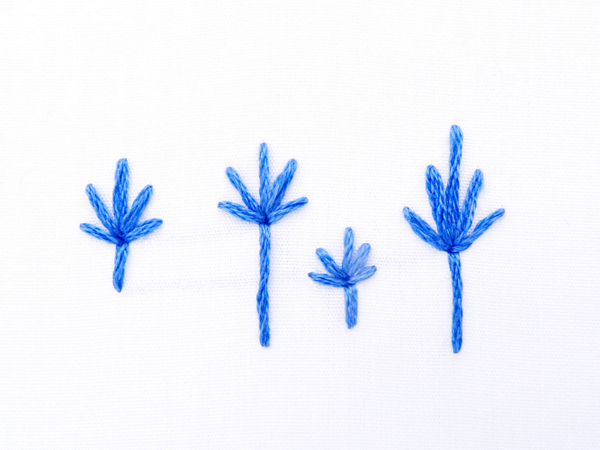
You can also omit the tail altogether.
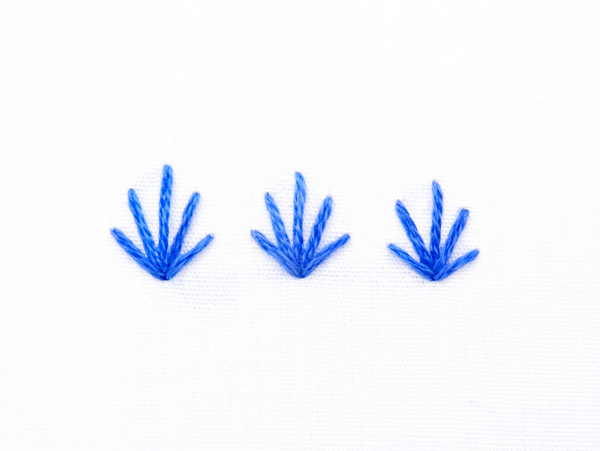
Ray Stitch in Embroidery Patterns
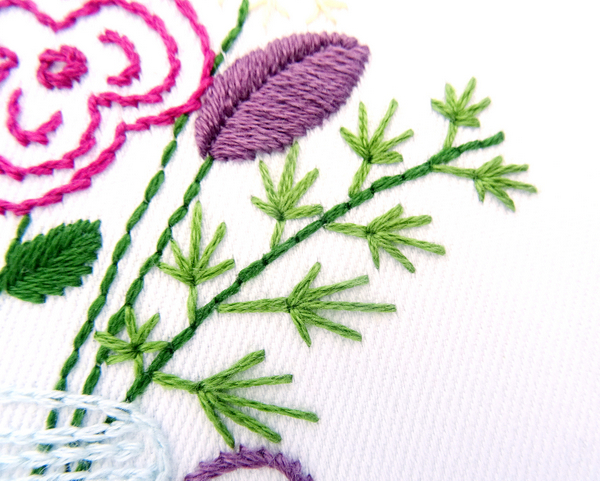
Ray stitch has many uses in embroidery. Stitched on a close line, it makes an interesting border, arranged in a circle, it makes a fantastic liner shape, and spaced out along a line of stitching, it creates an instant tropical plant stalk as seen in the Wildflower Bouquet Pattern.

Leave a Reply