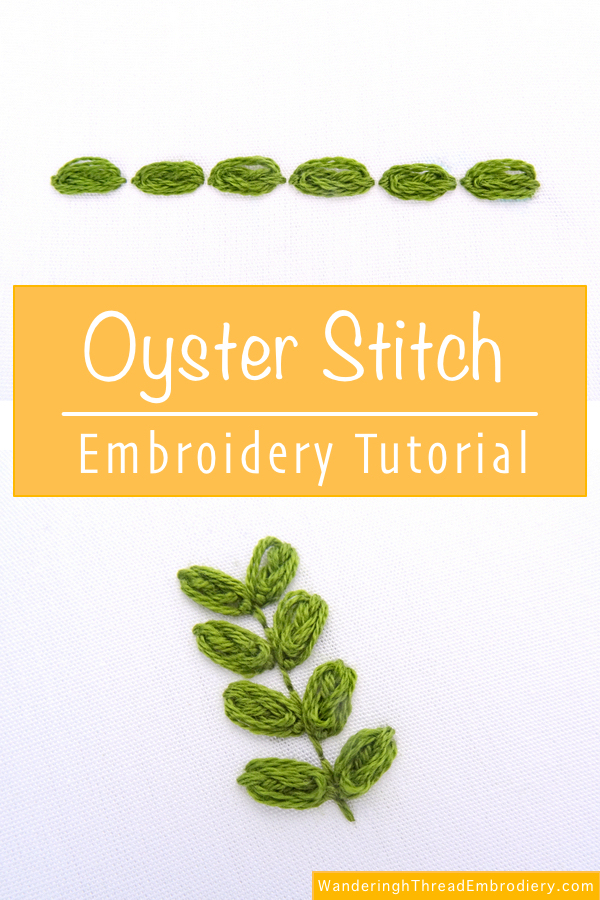
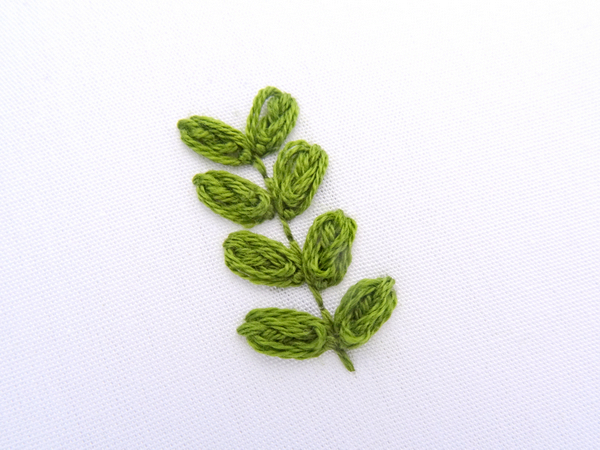
Oyster Stitch is a detached type of chain stitch that creates a compact, oval shape filled with twisted threads. This is one of those deceiving stitches that looks complicated but is actually quite simple to master. It is commonly used to make small leaves or flower petals, or strung together to create interesting borders.
Oyster Stitch Step-By-Step
Oyster stitch is a member of the chain stitch family and while it can be helpful to have basic knowledge of chain and twisted chain stitch, it’s not necessary to learn this stitch.
Chain Stitch Tutorial
Twisted Chain Stitch Tutorial
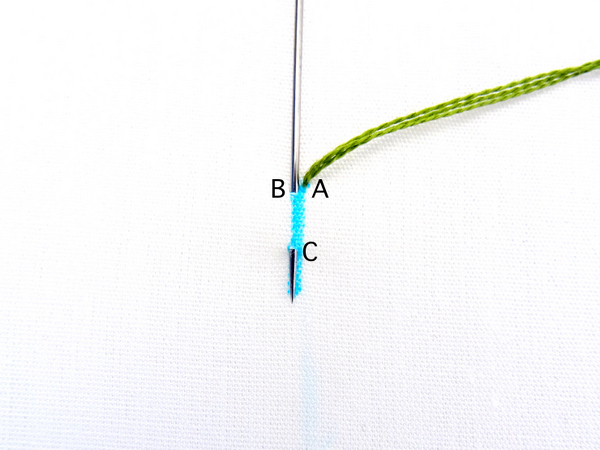
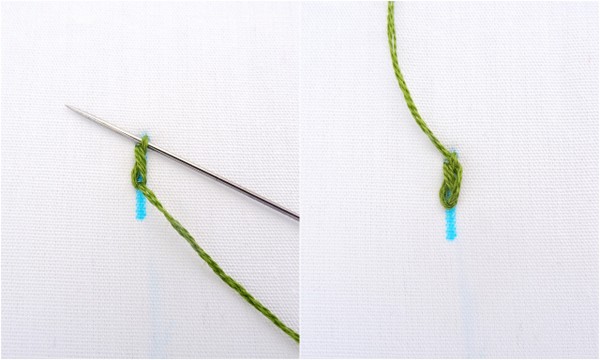
Start by drawing a short line to use a guide. We’re going to be working from top to bottom. Bring the thread up and out at the top of the line (point A). Re-insert the needle just to the left (point B) and then bring it out one stitch length away on the line (point C).
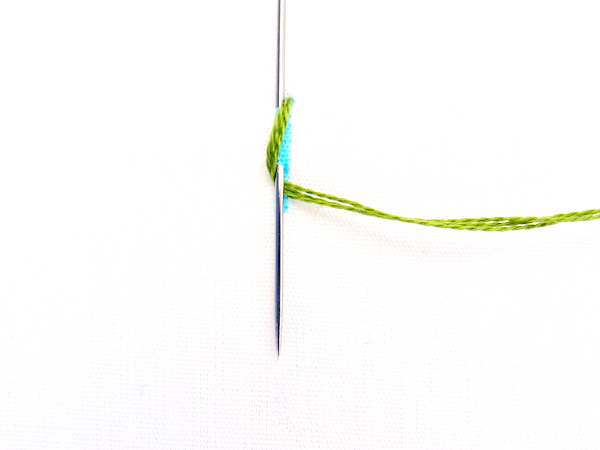
Wrap the thread around and under the needle.
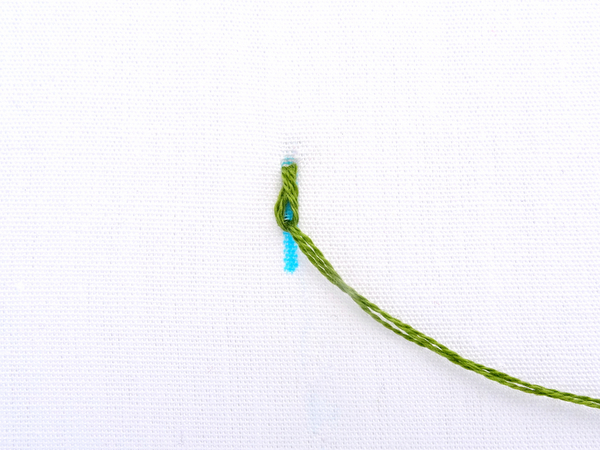
Pull the needle all the way through to create a twisted loop.
Next, take the needle through the right leg of the twisted loop without going through the fabric. Gently pull the thread so it wraps around the right side of the twisted loop. I find it helpful to put one finger on the bottom of the loop to prevent it from pulling too tight.
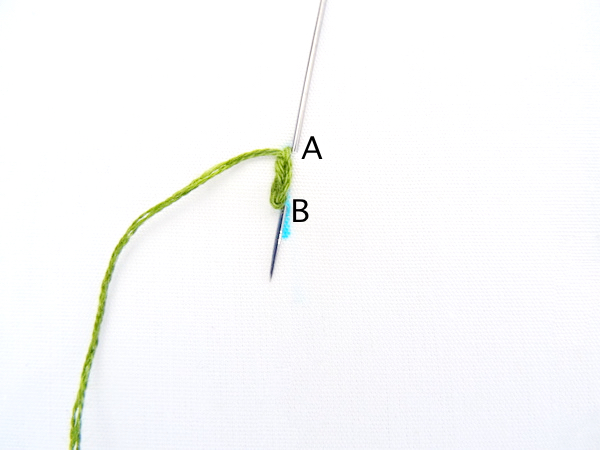
Next, we’re going to wrap the thread around the twisted knot that you just created. Start by inserting the needle next to the right leg of the first loop (point A) and coming back out at the bottom of the loop (point B).
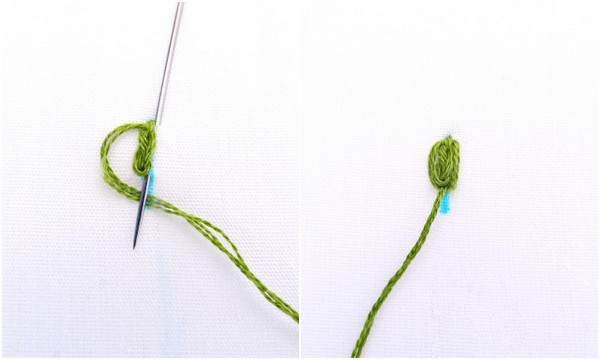
Wrap the thread around and under the needle, pull the needle through, and anchor it with a small stitch at the bottom.
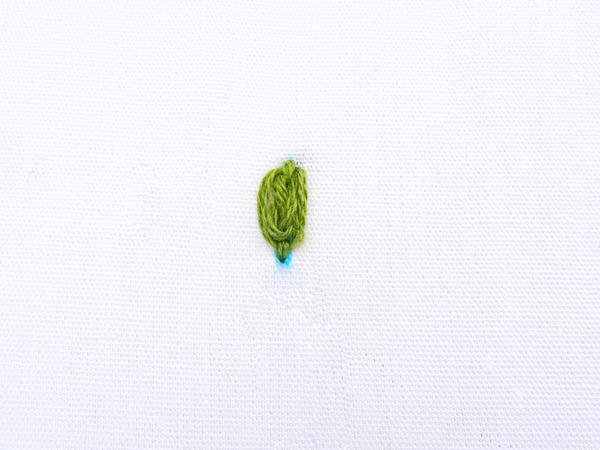
Oyster Stitch in Embroidery
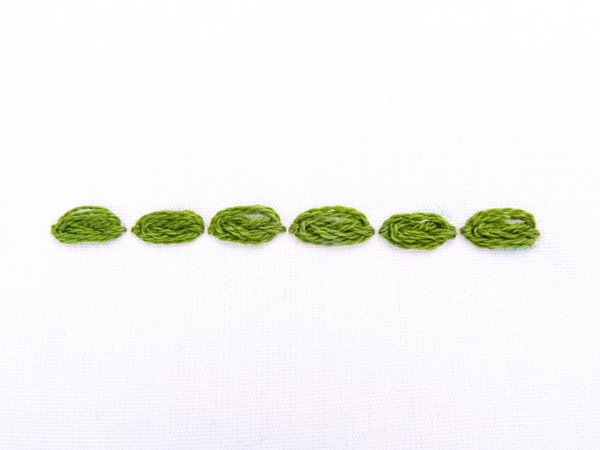
Oyster stitch can be used in a variety of applications: on its own to make cute little textured leaves, stitched in a circle to make flower petals, or arranged in a line to make an interesting border.

Leave a Reply