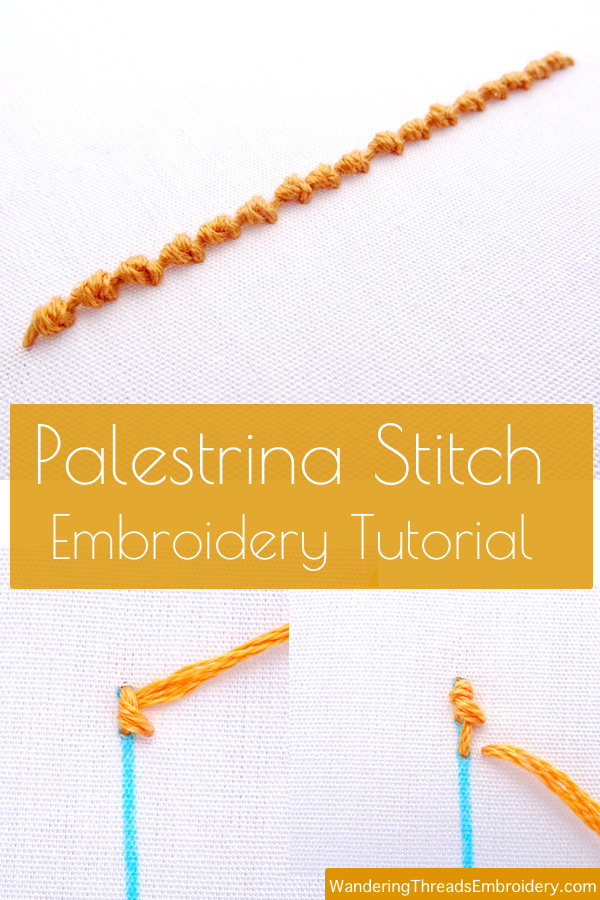
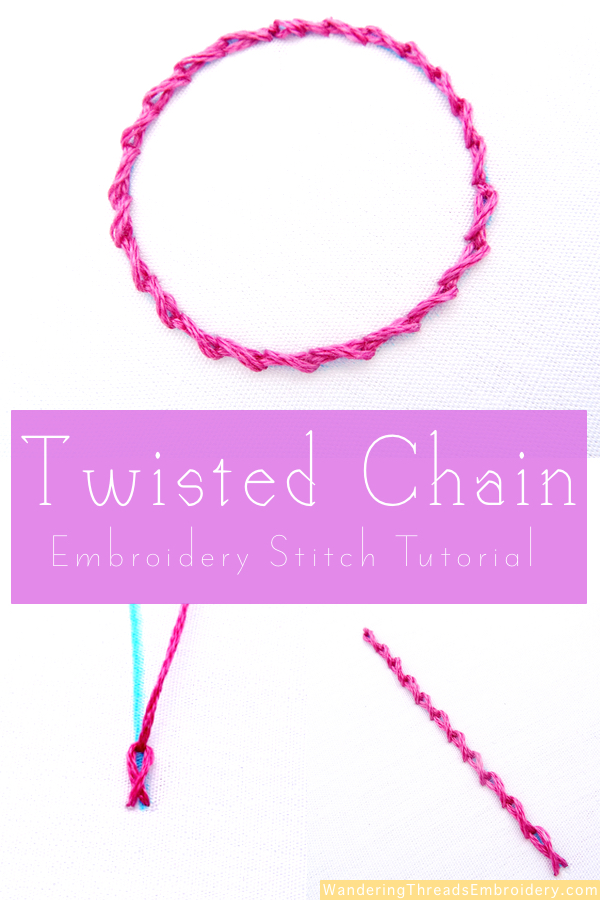
Twisted Chain Stitch Embroidery Tutorial
Twisted chain stitch is a variation of the basic Chain Stitch. While both are comprised of connected loops that form a chain-like line, twisted chain differs in that the loop is twisted in the middle. This is one of those simple and useful stitches that you will find yourself returning to again and again.
Twisted Chain Stitch Step-By-Step
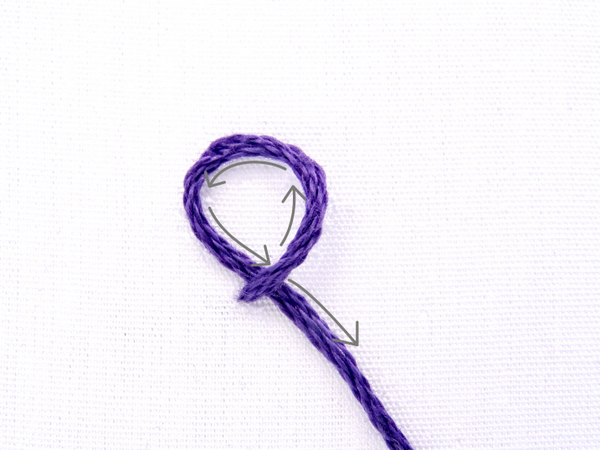
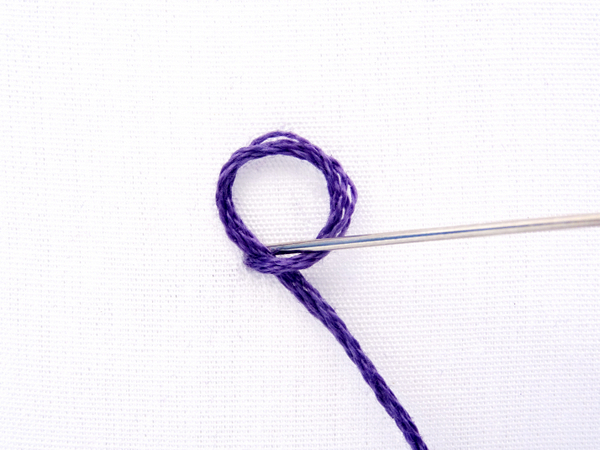
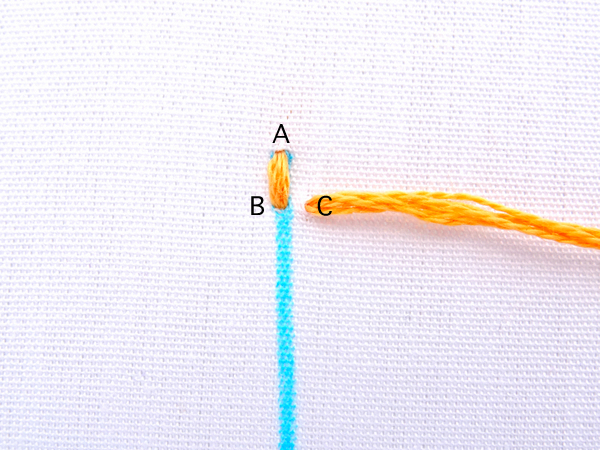
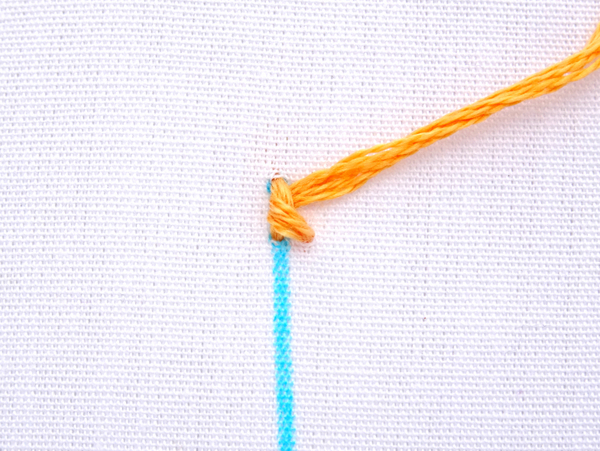
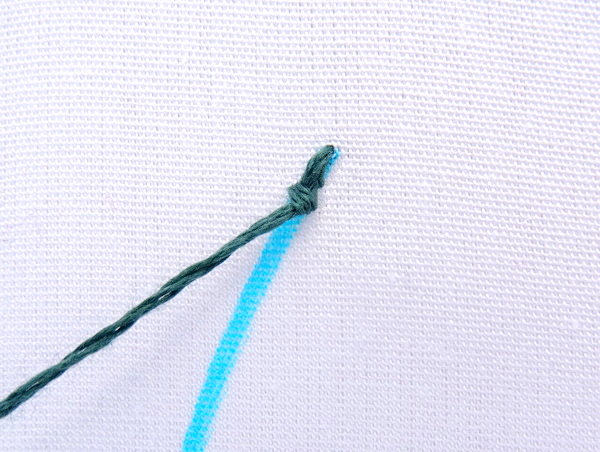
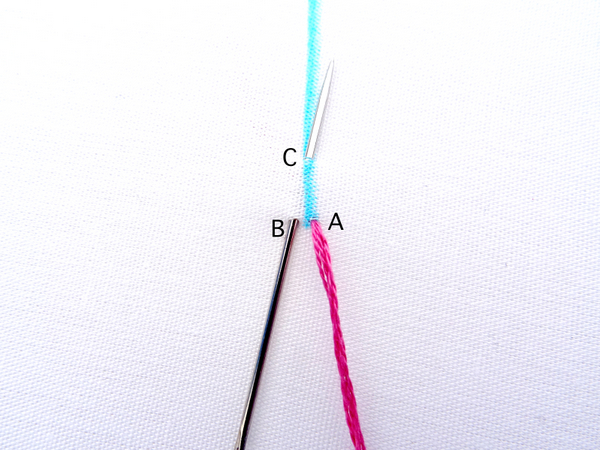
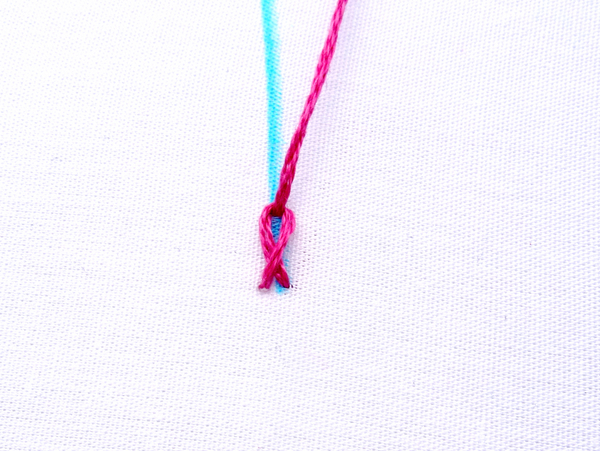
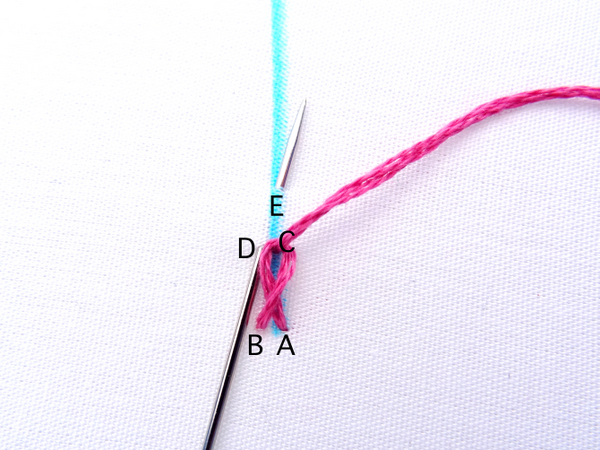
Twisted chain stitch is worked from right to left or bottom to top. For this example, I am stitching a straight line from bottom to top. Start by bringing the needle to the front at the beginning of your line (Point A). Pull it all the way through and then re-insert just to the left of the line (Point B). Bring the needle back out on the line one stitch length away (Point C). Don’t pull the thread all the way through yet.
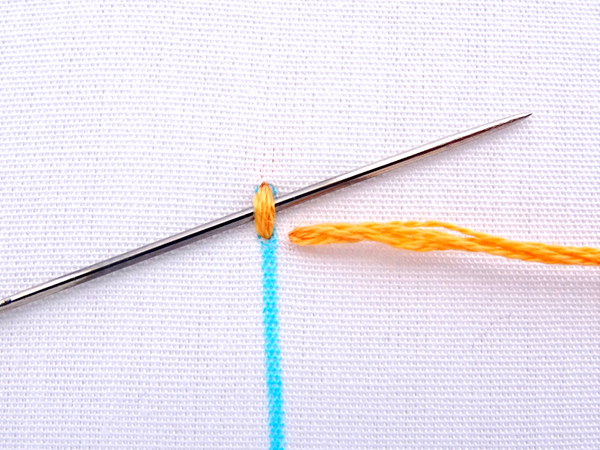
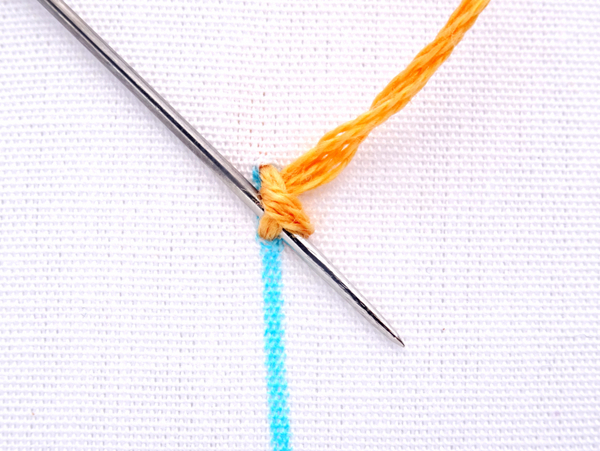
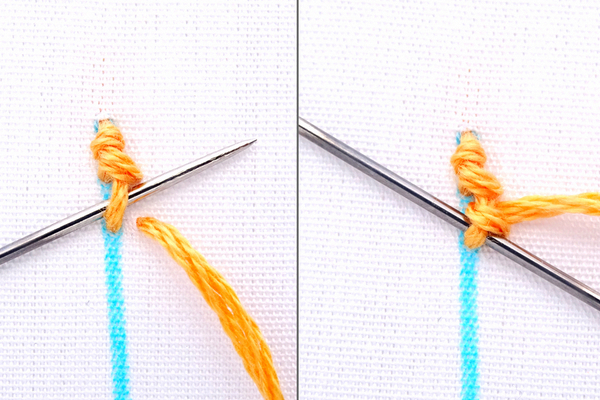
Next, wrap the working thread around the needle in a clockwise direction.
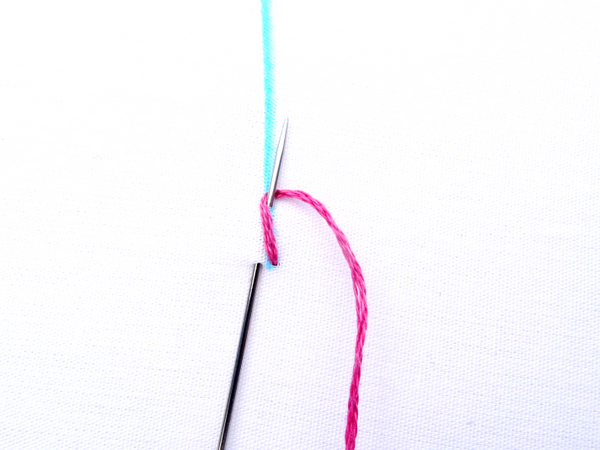
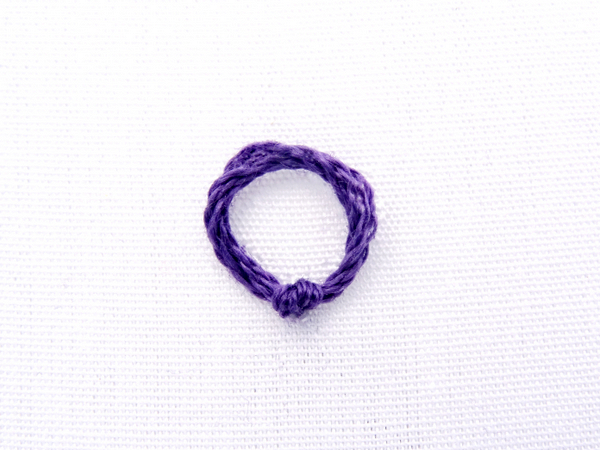
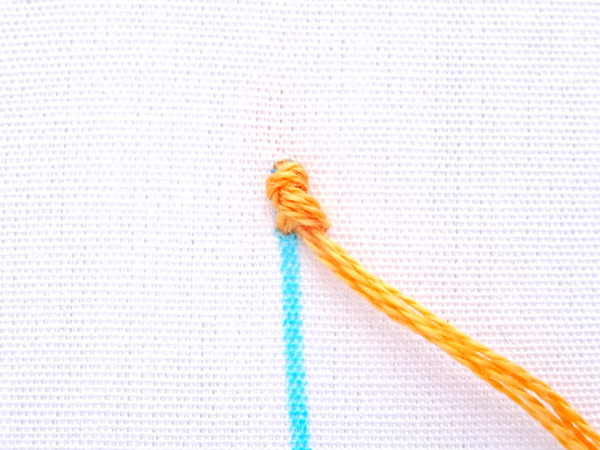
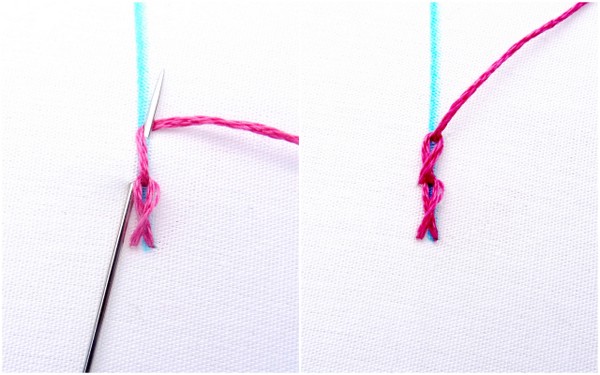
Pull the needle all the way through. You now have your first twisted chain.
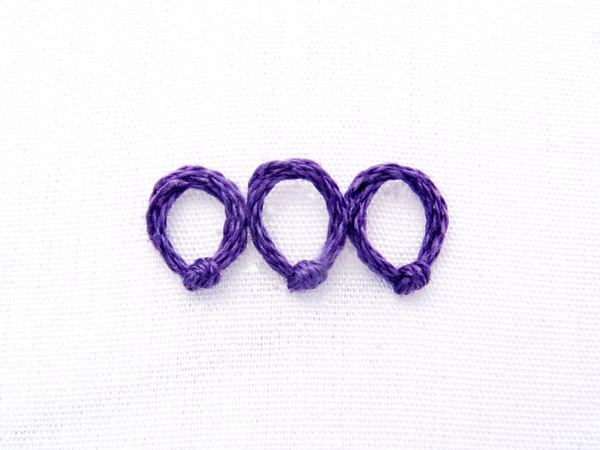
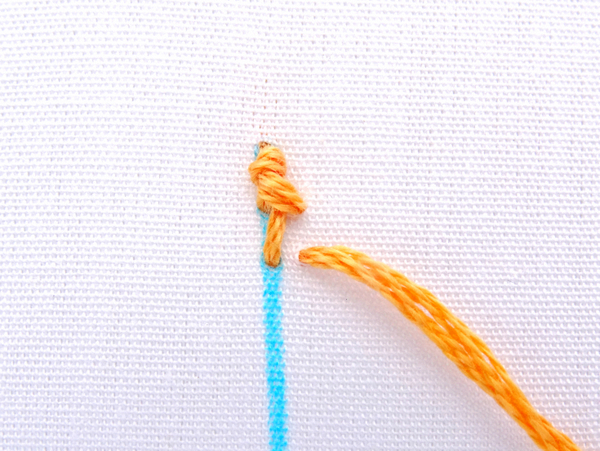
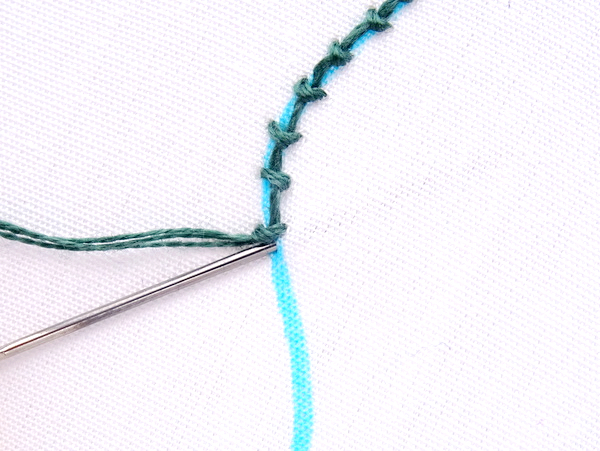
Form the second loop in the chain by inserting the needle to the left of the previous loop (point D) and then bringing it back out on the line one stitch length away (point E).
Once again, loop the thread around the needle and pull it all the way through. Now your chain has two twisted loops.
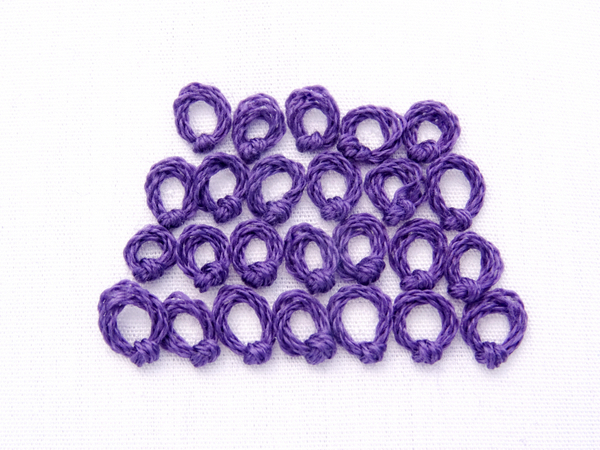
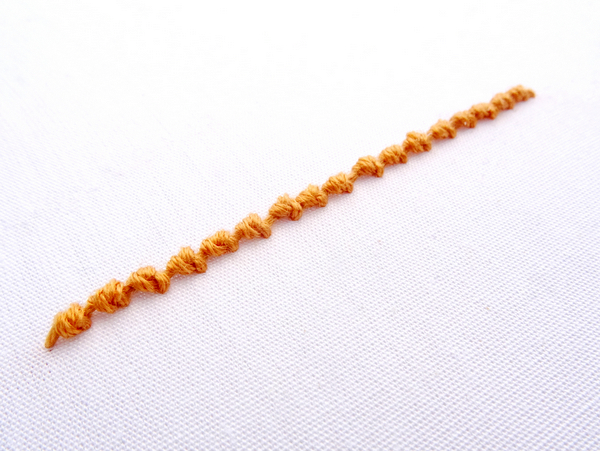
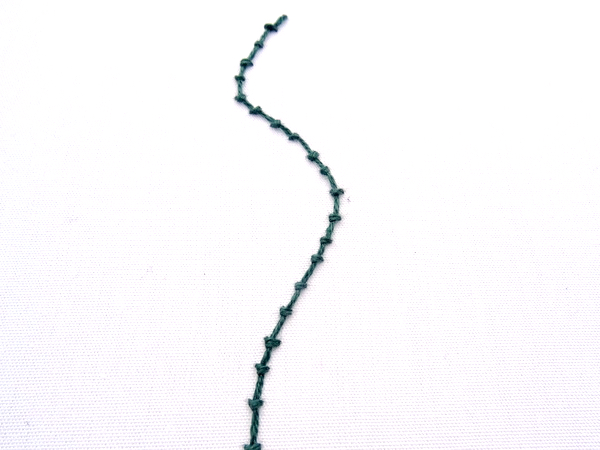
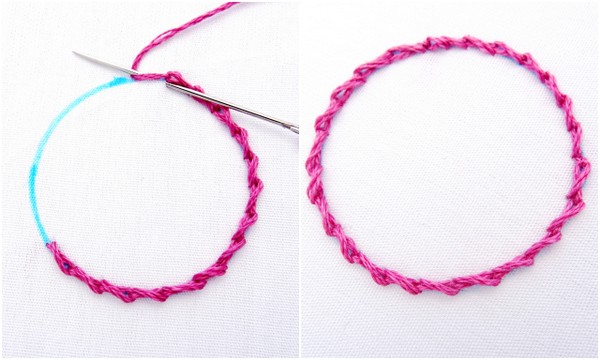
Continue stitching in this fashion until you reach the desired length. To end the stitch, simply insert the needle at the top of the last loop to anchor it in place.
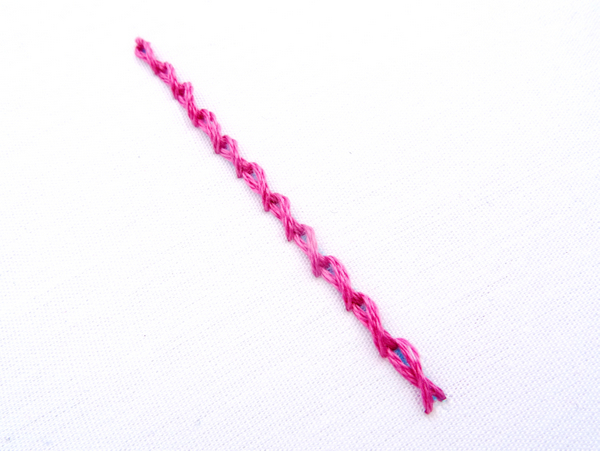
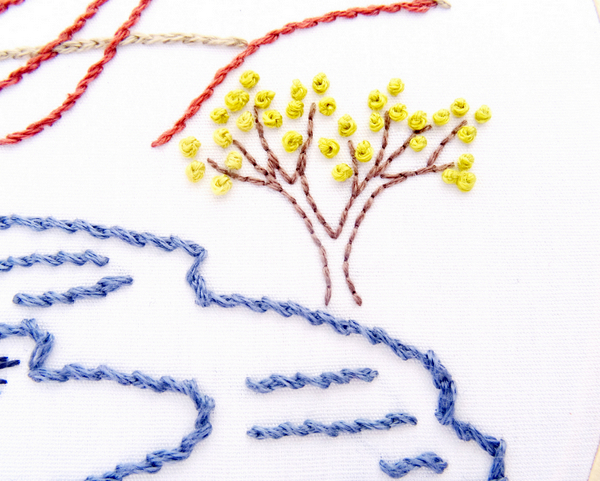
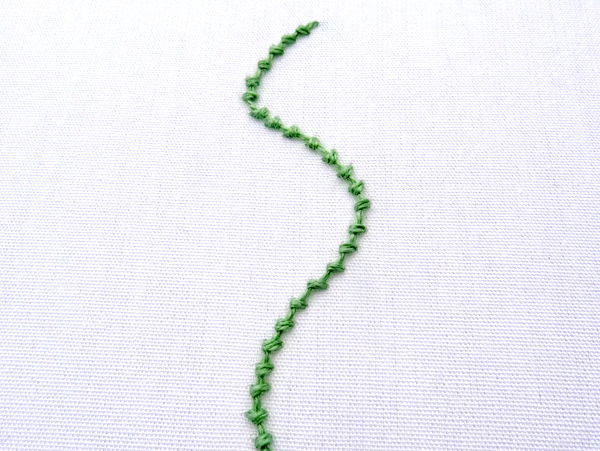
Twisted Chain is a great stitch for straight borders, wavy lines or shape outlines.
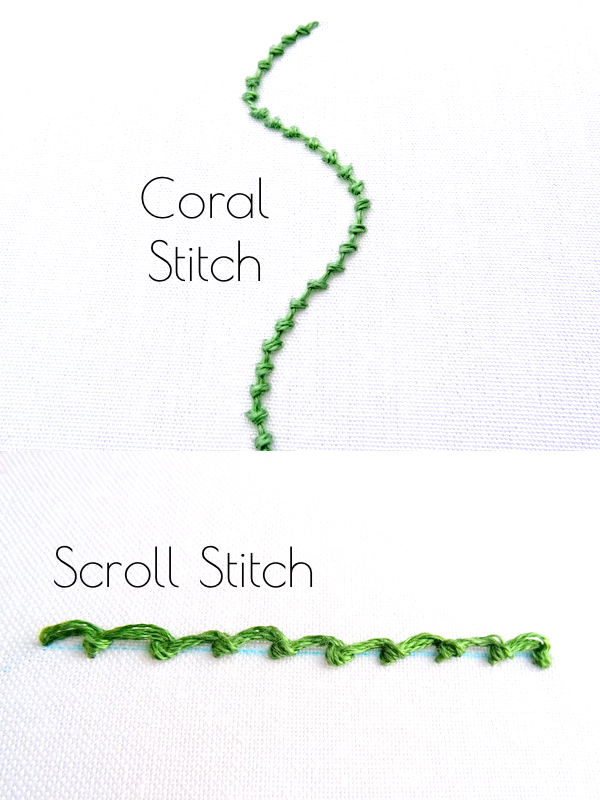
More Embroidery Tutorials from the Chain Stitch Family:
Chain Stitch
Heavy Chain Stitch
Lazy Daisy Stitch
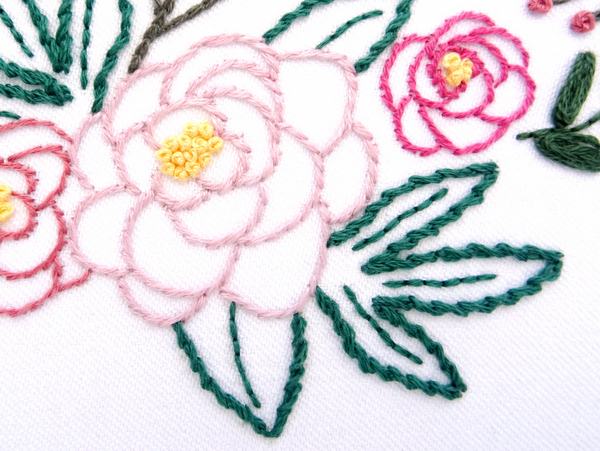
Twisted Chain in Embroidery Patterns
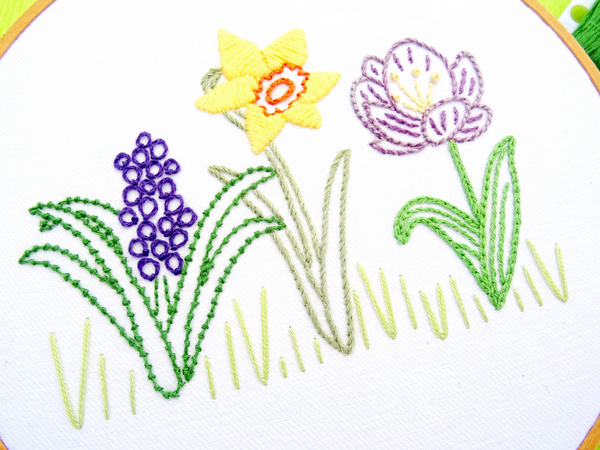
Primarily used as a outline or border stitch, here are few embroidery patterns where you can find twisted chain stitch.
Theodore Roosevelt National Park Pattern